- 初版:2018年12月
- 第二版:2019年12月
はじめに
本エントリーはMicrosoft Azure Stack Advent Calendar 2018の14日目です。
本日のエントリでは、Azure Stack Hub と Azure との連携の第一歩である Registration についてまとめます。なお、私が運用したことのある Azure Stack Hub は次の2種類だけです。したがって、本日のエントリでは容量課金に関する部分は触れません。
- Azure Active Directory 認証で従量課金の Integrated systems
- Azure Active Directory 認証の Ddevelopment Kit
なぜ登録が必要か
Azure Stack Hub には Azure に依存した2つの機能があります。これらの機能を動作させるためには、Azure Stak Hub を Azure に Registration(登録)する必要があります。
- Marketplace
- 利用料金の合算
Azure Stack Hub を Azure に登録していない場合、Azure Stack Hub の Marketplace で Azure からアイテムをダウンロードしようとしても、ダウンロードするためのボタンがグレーアウトされています。
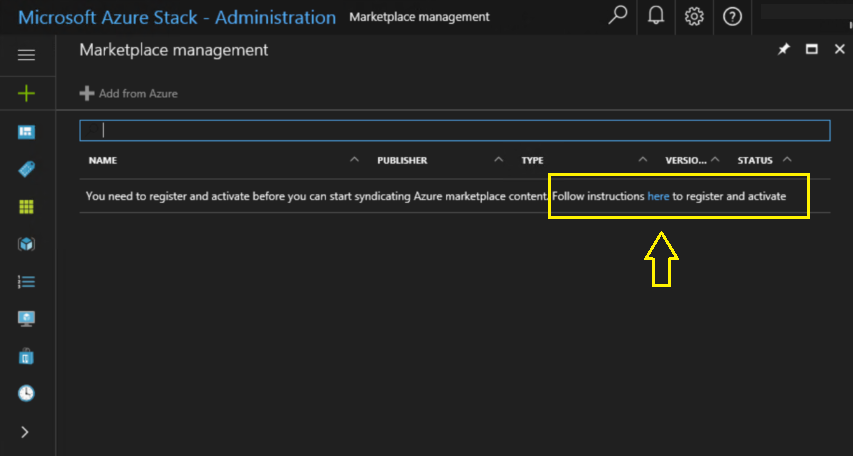
引用:Re-Deployment Connecting to Azure and Create your first VM with #AzureStack #Education
登録に必要なもの
Azure Stack Hub を Azure に登録するためには、次の2つが必要です。Azure Active Directory の運用体制によっては、後者のアカウントを用意するのが厳しいですね。
- 支払いに利用する Azure サブスクリプション ID
- EA サブスクリプションか CSP サブスクリプションのいずれか
- Azure Active Directory 上のアカウント
- 上記サブスクリプションに対して所有者権限をもつ
- さらに、上記サブスクリプションに紐づくAzure Active Directory の全体管理者権限をもつ
登録作業
登録作業の手順は公式ドキュメントで公開されています。Integrated systems の場合、次の条件によって手順が違うの注意が必要です。
- EA サブスクリプション or CSP サブスクリプション
- 容量課金 or 従量課金
Development Kit の場合は、PAYG サブスクリプションも利用できます。また課金モデルに "development" が利用できます。Development Kit は評価版という位置付けなので、誰でも登録できるように PAYG サブスクリプションがサポートされているのでしょう。
参考:Azure を使用した Azure Stack の登録
直近でデプロイした Development Kit を Azure に登録した際に利用したスクリプトは次の通りです。
# PEP に接続する
$cred = Get-Credential -UserName "azurestack.local\azurestackadmin" -Message "Please input password of CloudAdmin"
#Enter-PSSession -ComputerName 10.1.3.226 -ConfigurationName PrivilegedEndpoint -Credential $cred
$pep = New-PSSession -ComputerName azs-ercs01 -ConfigurationName PrivilegedEndpoint -Credential $cred

# 接続した PEP のセッションを利用して Azure Stack Hub を識別する ID を取得する
$res = Invoke-Command -Session $pep -ScriptBlock {
    Get-AzureStackStampInformation
}
$RegistrationName = "asdk-" + $res.DeploymentID

# Azure Stack Hub を登録する Azure サブスクリプションに接続して、Azure Stack リソースプロバイダを登録する
Add-AzureRmAccount -EnvironmentName "AzureCloud"
Get-AzureRmSubscription | Out-GridView -PassThru |Select-AzureRmSubscription
Register-AzureRmResourceProvider -ProviderNamespace Microsoft.AzureStack

# コマンドレットをインポートしたうえで、登録を実施
Import-Module C:\Users\AzureStackAdmin\azurestack-tools-master\Registration\RegisterWithAzure.psm1
Set-AzsRegistration `
   -PrivilegedEndpointCredential $cred `
   -PrivilegedEndpoint azs-ercs01 `
   -BillingModel development `
   -RegistrationName $RegistrationName
登録作業の結果
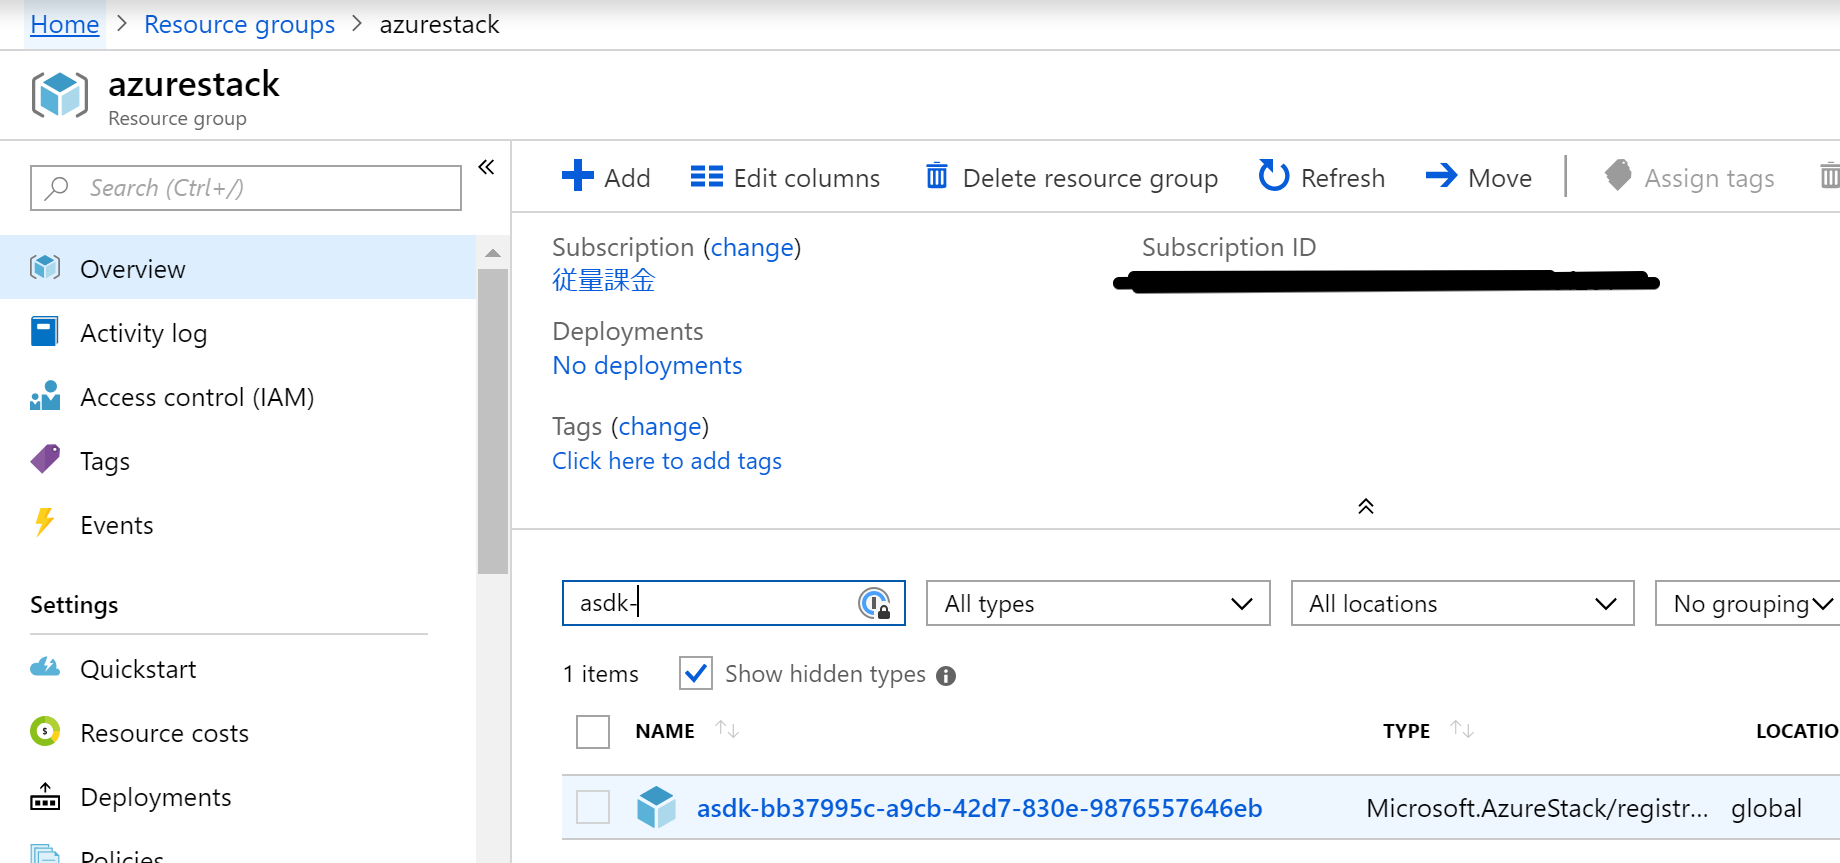
登録作業を実施すると、Azure サブスクリプションに次のリソースができます。上記のコマンドで Development Kit を登録した際に作られたリソースは次の通りです。"Show hidden types" にチェックを入れると見られます。Azure Stack Hub を利用している間は、これらのリソースを消さないようにしましょう。
まとめ
本日のエントリでは、Azure Stack Hub の Azure 連携機能に必要不可欠な登録をまとめました。実際の作業方法よりも、前提条件となるサブスクリプションとアカウントの用意が重要です。これらを用意し忘れると、Azure Stack Hub が利用できるようになるのが遅れます。事前に準備したうえでデプロイに臨みましょう。